Lord of Undead Conquer Human Settlements
Stage on desecrated ground, split gather and kill squads, break militia and bandits, then push toward the castle on the hill.
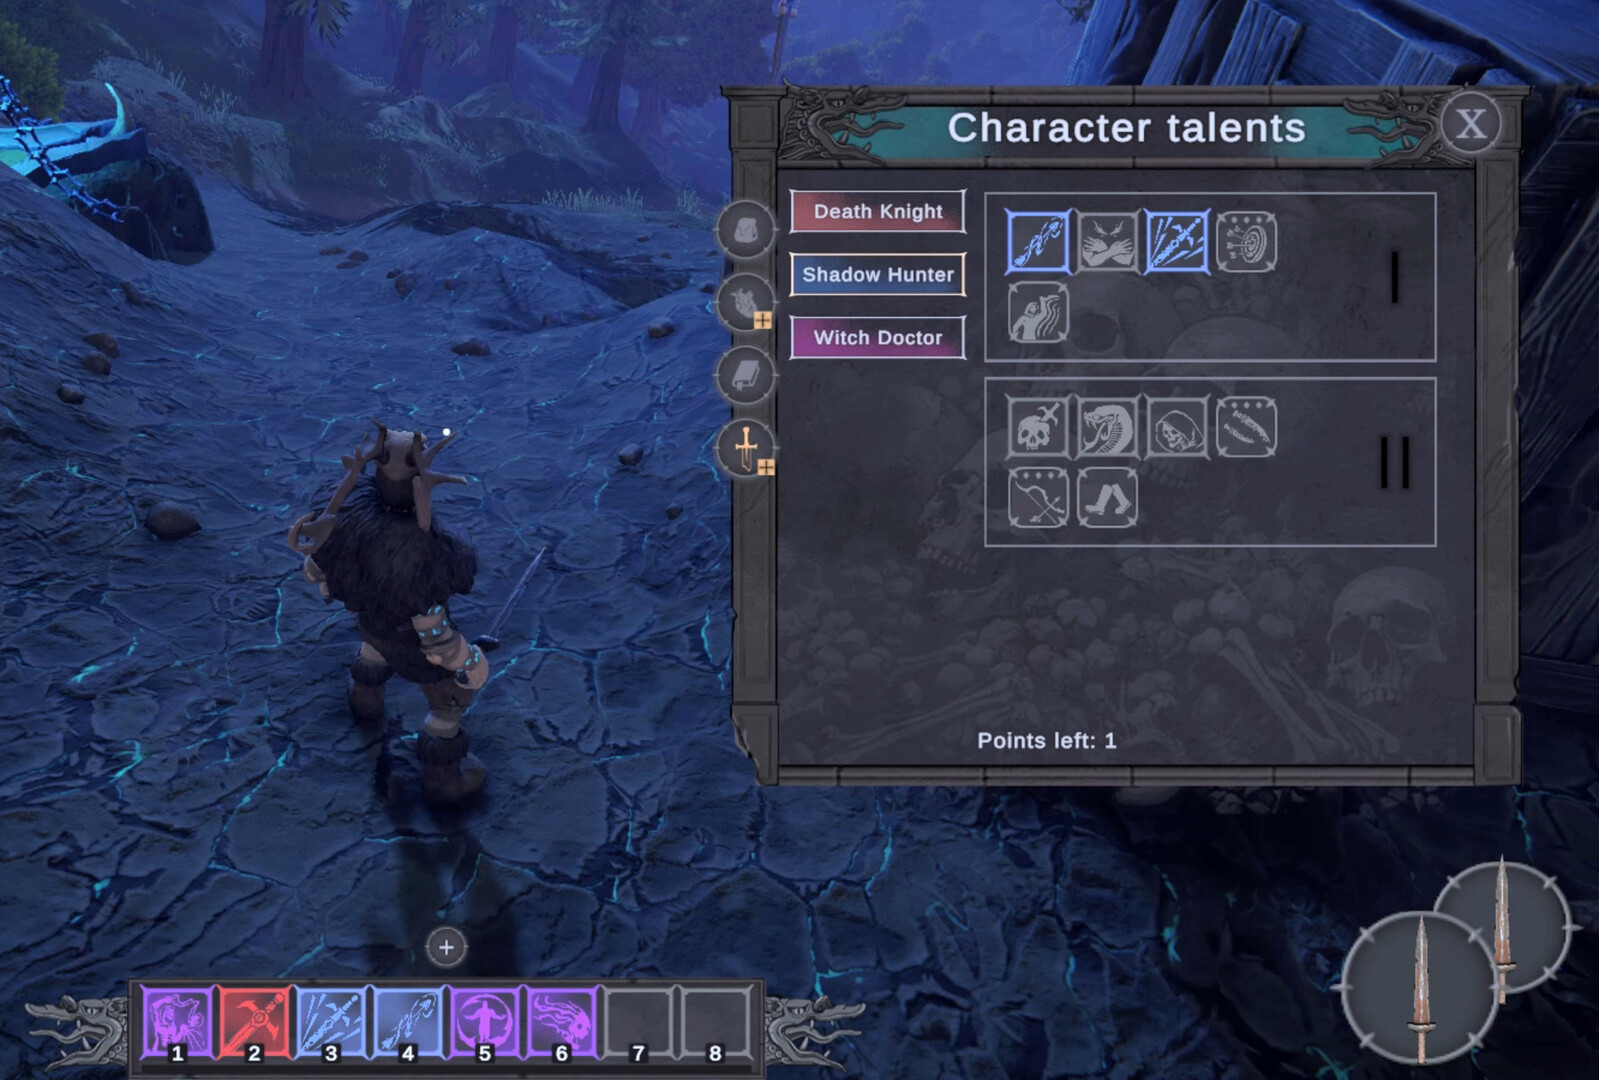
Human settlements are the living heartbeat of Lord of Undead’s open world. As an ancient dark sorcerer spirit, you do not negotiate with them — you harvest souls from the living, raise skeletons, zombies, wraiths, and plague creatures, plant Pylons of Darkness, and turn their villages into fuel for your march on the castle on the hill. This conquest guide covers why settlements matter, soft siege versus hard push, desecration staging, army micro, swamp-adjacent defenders, castle timing, and how to recover when a raid collapses. Orient yourself with getting started and the guides hub if you still need the first-hour loop.
Megame LLC’s Steam Early Access (app 4018330, November 19, 2026) is single-player only. Nobody else will hold a gate while you siphon. Every go-home reset and every failed push is yours alone.
Why settlements matter
Settlements pay three currencies at once:
| Payoff | Why it matters |
|---|---|
| Souls | Living defenders are high-density siphon targets for raising and sustaining the undead army |
| Bones | Humans drop craft feedstock for weapons and armor (crafting and gear) |
| Territory | Cleared settlements reduce living pressure and open safer desecration corridors |
Destroying a settlement also cuts the raids that hunt your lair once scouts discover it. Leaving camps alive means militia squads keep testing your walls while you try to farm elsewhere. Treat conquest as both economy and base security — see souls and combat for siphon rules and base building for regenerating hubs.
Soft siege vs hard push
Soft siege chips the settlement without betting your whole veteran core:
- Scout with a small follow pack.
- Pull edge defenders onto nearby desecration.
- Soften clumps with plague creatures and abilities before a full attack order.
- Loot bones and souls, then reset.
- Extend a pylon spike and repeat.
Hard push commits attack across the interior once you own the approaches:
- Hold lines lock flanks and gates.
- Move places wraiths on angles before the general attack.
- You personally siphon priority living targets while minions trade hits.
- Gather squads stay off the kill zone so essence and bone income continue.
Soft siege builds surplus. Hard push spends surplus. Pride-hard-pushing undergeared into swamp-adjacent camps usually ends in a long walk home.
Stage every fight on desecration
Pylons of Darkness buff you and your minions, regenerate buildings, and enable dark essence. Settlement fights that start off-corruption die faster and recover slower. Before a siege:
- Spike pylons toward the settlement edge.
- Confirm a go-home path back to regenerating ground.
- Keep an essence grove behind the spike so Tier upgrades do not stall mid-campaign.
Desecration is offensive infrastructure. Pull living packs onto corrupted soil whenever you can. Layout and essence tree cycles (corrupt → cut for 0–3 essences → optional remove for respawn) live in base building. Biome context for where settlements sit relative to starting lands and the Swamps is in map and biomes and the dedicated Swamps guide.
Split gather squads from kill squads
Hold Q opens army commands: attack, gather, follow, go home, hold, and move. Press Q focuses a harvest node or enemy. Settlement micro that wins:
- Kill squad: Skeletons and zombies on attack or hold; plague creatures moved forward to disrupt; wraiths on flanks.
- Gather squad: Parked on safe desecrated trees or stone so essence and materials keep flowing while you siege.
- Follow pack: Your personal screen when you reposition between soft pulls.
Never park gatherers inside the settlement kill box. Bandit or militia spillover will wipe your economy while you tunnel vision the mayor’s hut. Full command habits are covered in undead army and controls. Composition priorities shift with patches — check the minions tier list and builds tier list.
Defenders: green militia and rusty red bandits
Human enemies near harder regions, especially around the Swamps, wear two main looks:
- Green — local militia, knights, and organized fighters. They hold formations and punish messy pulls.
- Rusty red — bandits and shady irregulars. They pressure aggressively and punish idle armies.
Both drop souls and bones. Both escalate once you leave starting lands for the copper-mine gate and swamp Tier 2 armor region (leather and metal variants). Scout colors before you commit hard push. If militia anchors a chokepoint, hold zombies on desecration and siphon from safety. If bandits swarm, use move/attack reissues and plague disruption so your casters and archers are not surrounded off-corruption.
Gear readiness for these fights belongs in crafting and gear and swamp-specific prep in Swamps.
Castle on the hill — late goal, not day-two content
The fantasy climax is destroying the castle on the hill. It is a late conquest after:
- Starting loop mastery (souls, recruit, desecrate, craft).
- Stable regenerating base and go-home discipline.
- Swamp Tier 2 armor and coherent build path.
- Surplus souls and replaceable veteran minions from settlement surplus.
Throwing your only wraith core at the keep during session two wastes hours of raise time. Treat the castle like a siege that assumes settlement income already works. Track how EA expands locations and AI on Early Access and keep Steam/Discord links on official links.
Failure recovery
When a settlement push fails:
- Go home immediately. Pride wipes cost more than a clean retreat.
- Regenerate on desecrated ground; repair buildings under pylons.
- Recruit nearby skeletons and refill souls from small living packs — not from another full siege.
- Recraft broken kits; refresh essence (0–3 per corrupted tree cycle).
- Soft siege the edges again before another hard push.
If scouts already found your lair, expect militia pressure until you clear the offending settlement or fortify harder. Hold lines on pylons beat chasing every scout into the fog.
Practical conquest checklist
- Confirm Q commands and recruitment via controls.
- Build a mixed army per undead army.
- Spike pylons and essence per base building.
- Soften living packs with souls and combat habits and abilities.
- Read defender types via map and biomes / Swamps.
- Soft siege → surplus → hard push → next settlement.
- Castle attempt only after swamp Tier 2 prep and settlement surplus.
Conquest is patient corruption. Paint the approaches dark, split your labor, and spend souls on sieges you can afford to lose once — then win.
Frequently Asked Questions
Quick answers to the most common questions.
Why should I conquer settlements in Lord of Undead?
Settlements supply dense living souls, human bones for crafting, safer territory for pylon expansion, and fewer militia raids once cleared.
What is the difference between a soft siege and a hard push?
Soft siege chips edge defenders on desecration and resets with loot. Hard push commits attack through the interior once approaches and surplus are secure.
Who defends settlements near the Swamps?
Expect green militia and organized fighters plus rusty red bandits. Both hit harder than starting-land settlers and pair with Tier 2 swamp gear gates.
When should I attack the castle on the hill?
After swamp Tier 2 prep, a regenerating base, go-home discipline, and settlement soul surplus. It is a late goal, not an early gear check.
What do I do after a failed settlement raid?
Go home, regenerate on pylons, recruit and siphon small living packs, recraft, then soft siege the edges again before another hard push.